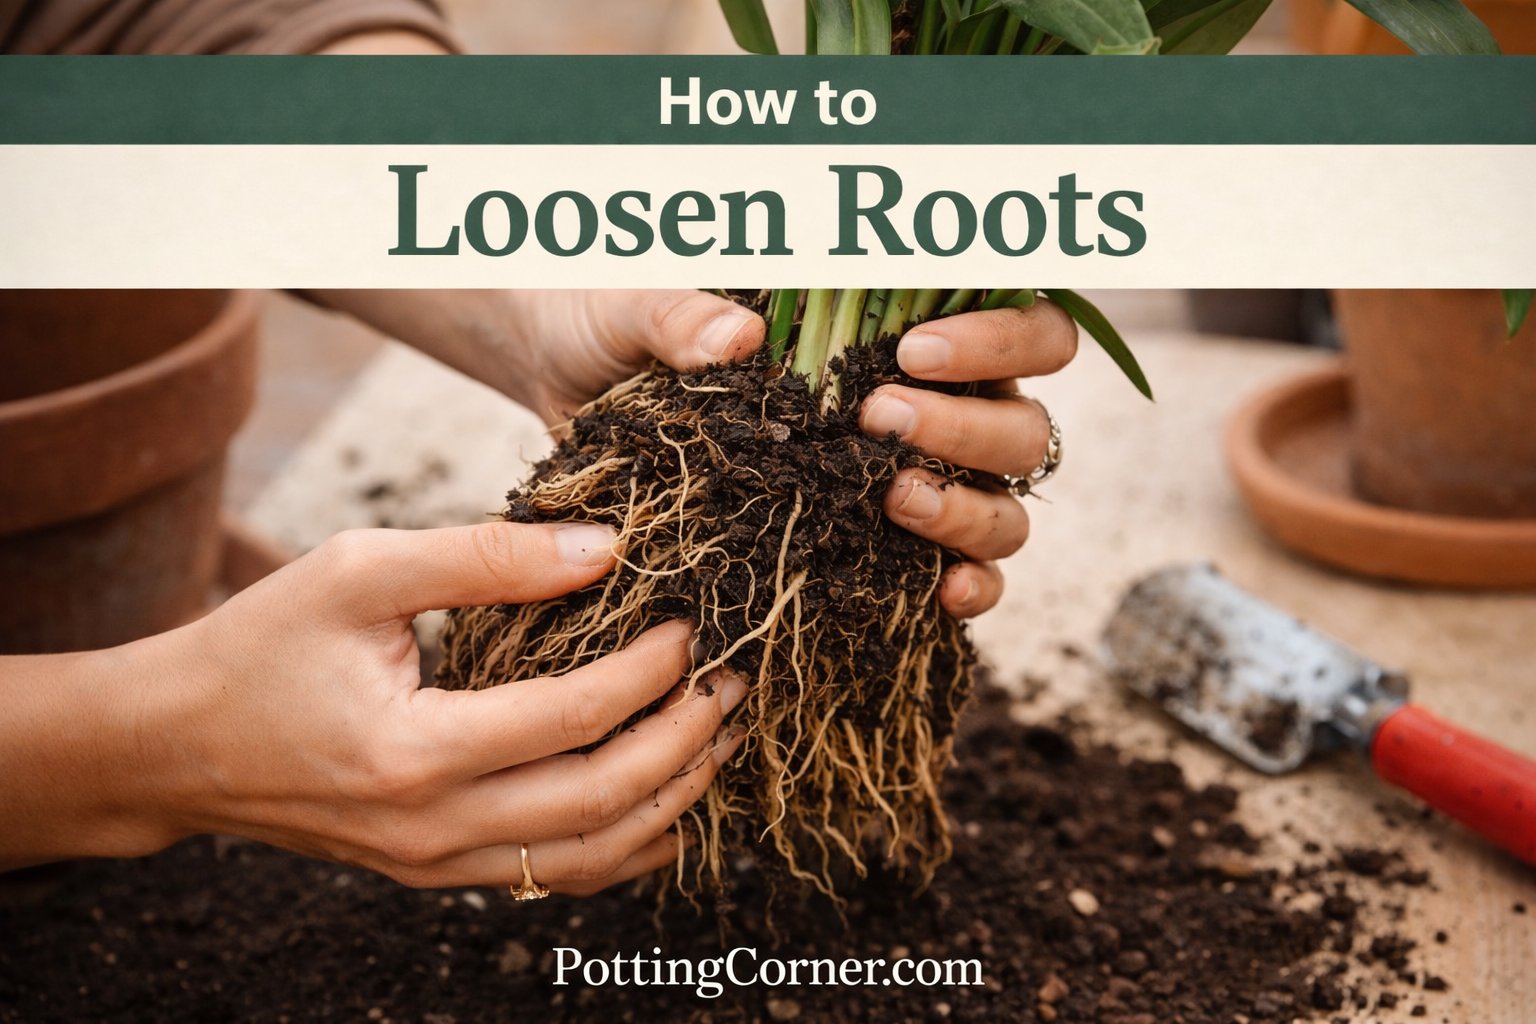
How to Loosen Roots When Repotting
Circling roots won't magically spread out in a new pot they'll keep circling. Here's how to gently loosen, tease and cut roots to encourage healthy outward growth.
Potting Corner Team · Jan 26, 2026 · 8 min read
Roots that circle tightly around themselves will continue circling even in a larger pot. Loosening them before replanting encourages roots to grow outward into fresh soil, where they can access water and nutrients. Skip this step and your plant may remain functionally root-bound despite having more space.
This guide covers three techniques, from gentle teasing to strategic cutting, and when to use each. For severely compacted roots, our guide How to Repot a Root-Bound Plant walks through the full process.
The Direct Answer: Match Technique to Severity
| Root Condition | Technique | Difficulty |
|---|---|---|
| Lightly circled, mostly loose | Finger teasing | Easy |
| Moderately compacted, some flexibility | Massage and tease | Moderate |
| Severely matted, solid mass | Score and slice | Advanced |
The goal: Disrupt the circular pattern so roots can grow outward. You don't need to separate every root—just break the pattern.
Why Root Loosening Matters
Circling Roots Strangle Themselves
When roots circle continuously, they can:
- Wrap around each other and constrict
- Girdle the plant's own root crown
- Fail to reach nutrients in surrounding soil
- Create a water-resistant core
New Soil Goes Unused
If roots remain in a tight ball, water and fertilizer flow around the mass rather than into it. The plant stays effectively pot-bound despite having room.
Recovery Depends on New Root Growth
After repotting, plants establish by growing new roots into fresh soil. Loosened roots have space to branch; compacted roots continue spiraling.
Technique 1: Finger Teasing (Light Compaction)
Best for: Healthy plants with roots visible but not tightly matted.
How to Do It
- Remove plant from pot and set on work surface
- Hold the root ball with both hands
- Gently pull roots outward from the bottom edges
- Work around the circumference, loosening outer roots
- Tease apart roots on the bottom, spreading them down and out
- Don't worry about the inner core—just the exterior
What You're Looking For
- Roots should pull apart without tearing
- Aim to loosen the outer 1-2 inches
- Small root tips may break—that's okay
- You should see gaps where roots separate
Time Required
2-5 minutes for most plants.
Technique 2: Massage and Tease (Moderate Compaction)
Best for: Plants with denser root balls that resist finger work alone.
How to Do It
- Start with a 15-30 minute soak in room-temperature water
- Remove and let excess water drain
- Hold the root ball and squeeze gently, rolling between palms
- This cracks the compacted structure without tearing roots
- Now use fingers to tease apart loosened sections
- Work from bottom up, spreading roots outward
- Repeat massage and tease as needed
Why the Soak Helps
- Hydrated roots are flexible, not brittle
- Wet soil releases more easily
- Less force required to separate roots
- Fewer roots break during handling
Time Required
10-15 minutes including soak time.
Technique 3: Score and Slice (Severe Compaction)
Best for: Severely root-bound plants where roots form a solid, woody mass.
How to Do It
- Remove plant and shake off loose soil
- Using a clean, sharp knife:
- Make 3-4 vertical cuts around the root ball, about 1 inch deep
- Make one cross-cut on the bottom (an X shape)
- Gently pry apart the scored sections
- Use fingers to pull loosened roots outward
- Trim any circling roots that won't cooperate
Why Cutting Works
Cutting severs the circular pattern. Wounds on roots stimulate branching, new roots grow from cut ends, reaching into fresh soil.
Don't Panic About Cutting
This feels drastic, but healthy plants handle it well. You're not removing root mass—just interrupting the spiral. New root growth from cut ends is vigorous.
Time Required
5-10 minutes for cutting, plus handling time.
Tools for Root Loosening
Fingers (Always the First Choice)
- Most gentle
- Best feel for root texture
- Won't accidentally cut too deep
- Free
Chopstick or Dibber
- Helps pry apart compacted sections
- Useful for working soil out of root mass
- Gentle option when fingers can't reach
Root Hook or Hand Cultivator
- Multiple tines for combing through roots
- Good for medium-compacted plants
- Available at garden centers
Clean, Sharp Knife
- For scoring severely bound roots
- Must be clean (reduce infection risk)
- Sharp blades make cleaner cuts
Pruning Shears
- For trimming excessively long roots
- For removing dead or rotted roots
- Clean and sharpen before use
How Much Loosening Is Enough?
Minimum Goal
Outer roots are separated enough to contact fresh soil when planted. The pattern of circling is disrupted.
Ideal Result
- Bottom roots spread outward and downward
- Side roots point outward, not inward
- Some gaps visible in root mass
- Root tips have room to grow in any direction
When to Stop
- Roots are separating without force
- You can see the structure is no longer a solid mass
- Plant stem feels stable (not wobbly from too much disturbance)
Special Cases
Orchid Roots
Orchids have thick aerial roots that shouldn't be buried or forcibly loosened. Gently untangle any circling roots, trim dead ones, and allow healthy roots to hang naturally.
Succulent and Cactus Roots
These are delicate and rot-prone. Minimal loosening—just tease outer edges. Let any damaged roots dry 24 hours before repotting.
Large, Woody Root Systems
Some established plants have thick roots that won't loosen easily. Focus on the fine roots; don't try to bend woody roots that resist.
Aquatic or Semi-Aquatic Plants
Roots adapted to wet conditions are often more fragile. Handle gently, minimize cutting, and repot into similarly moist conditions.
What to Avoid
Ripping and Tearing
Patience beats force. If roots won't separate, soak longer, massage more, or score strategically. Ripping damages roots beyond the immediate area.
Removing Too Much Root Mass
You're loosening, not pruning. Unless roots are dead or rotted, keep them attached. The goal is redirection, not reduction.
Dry Handling
Dry roots snap easily. If the root ball feels stiff and brittle, soak before proceeding.
Rushing
Root loosening takes time. Build it into your repotting process rather than skipping or rushing through it.
After Loosening: Planting Tips
Spread Roots in the New Pot
When placing the plant:
- Create a small mound of soil in the pot center
- Set the plant on top
- Arrange loosened roots to drape outward and downward over the mound
- This encourages outward growth from the start
Fill Around Roots Carefully
Work fresh soil between separated roots. Use a chopstick to eliminate air pockets without compacting too heavily.
Water to Settle
Thorough watering after planting helps soil settle around loosened roots and removes air gaps.
Common Mistakes
Skipping Loosening Entirely
Many people place a root-bound ball directly into a new pot. The plant stays effectively bound, wondering why it moved.
Being Too Gentle
Some root disturbance is necessary. If you're not seeing any separation, you're not loosening enough.
Being Too Aggressive
Shredding the root ball isn't the goal. Work methodically, not forcefully.
Only Loosening the Bottom
Roots circle around the sides too. Address the entire outer surface not just the bottom.
Frequently Asked Questions
Will loosening roots hurt my plant?
Minimally and temporarily. The short-term stress is far outweighed by the long-term benefit of healthy root growth.
My plant's roots are so tight they feel like wood. What do I do?
Score and slice technique. Make vertical cuts, pry apart and accept that this is necessary. Soak first to minimize damage.
Should I trim roots while loosening?
Only trim roots that are dead (dry, hollow), rotted (mushy, dark), or excessively long. Healthy roots should stay attached.
How do I know if I've loosened enough?
You should see the circular pattern disrupted. Outer roots should point outward or at least no longer follow a tight spiral.