How to Repot a Root-Bound Plant Without Stress
A tangled mass of circling roots needs careful handling, rush it and you'll damage your plant. Here's how to safely repot a root-bound plant and encourage healthy new growth.
Potting Corner Team · Jan 20, 2026 · 7 min read
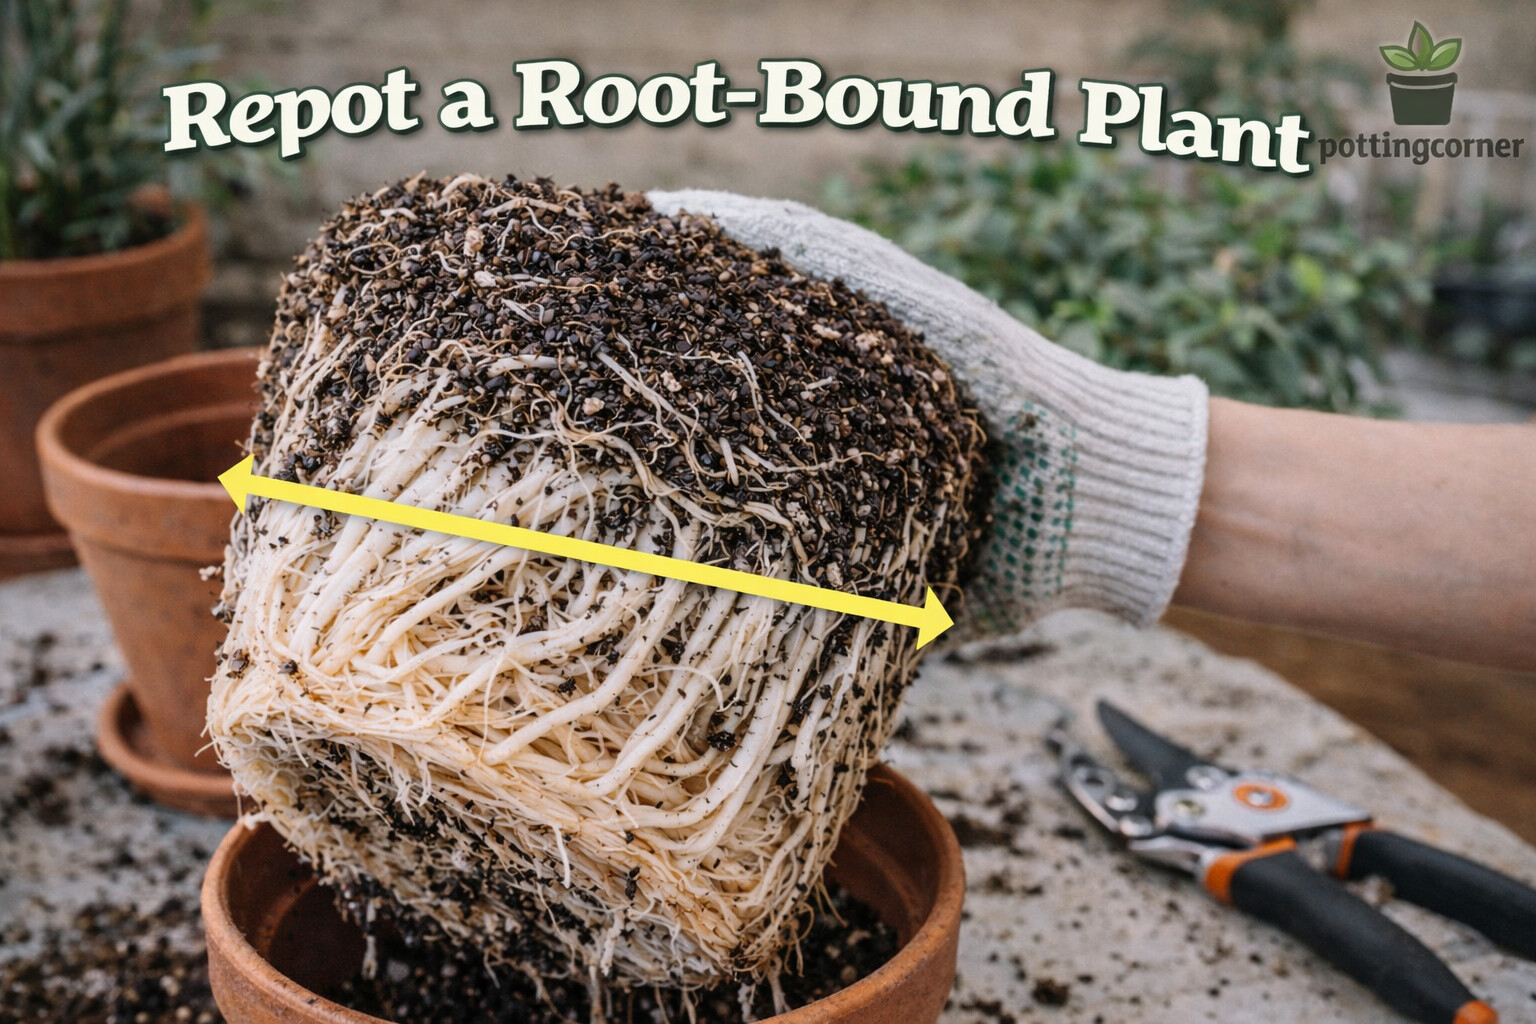
When roots circle tightly around themselves with no soil visible, your plant is root-bound. Left alone it will struggle to absorb water and nutrients. But repotting a severely root-bound plant requires more care than a routine repot, you need to loosen those compacted roots without tearing them apart.
This guide walks you through the process step by step, from preparation to aftercare. For general repotting instructions, see How to Repot a Houseplant.
The Direct Answer: Loosen, Don't Rip
The key to repotting a root-bound plant successfully is gentle root loosening:
- Soak the root ball in water for 15-30 minutes
- Massage the roots to loosen the outer layer
- Make vertical cuts if roots are severely matted
- Spread roots outward when placing in the new pot
- Water thoroughly and provide recovery conditions
Skipping the loosening step is the biggest mistake. If you plant a tight root ball directly into a new pot roots continue circling instead of growing outward into fresh soil.
How to Tell If Your Plant Is Root-Bound
Before you start, confirm the problem. A plant is root-bound when:
Definite signs:
- Roots form a solid, pot-shaped mass
- Little to no soil visible when you remove the plant
- Roots circle tightly around themselves
- Roots grow out of drainage holes
Behavioral signs:
- Water runs straight through without absorbing
- Soil dries out within 1-2 days
- Plant wilts quickly despite moist soil
- Growth has stalled during growing season
For a complete guide to recognizing these signals, see Signs Your Plant Needs Repotting.
Step-by-Step: Repotting a Root-Bound Plant
Step 1: Prepare Your Workspace
Gather everything before you start:
- New pot (1-2 inches larger in diameter)
- Fresh potting mix appropriate for your plant
- Bucket or basin for soaking
- Clean scissors or knife
- Watering can
- Drop cloth or newspaper
Step 2: Water and Soak
Water the plant thoroughly 24 hours before repotting. This makes the root ball easier to work with.
On repotting day, fill a bucket with room-temperature water. Remove the plant from its pot and submerge the root ball for 15-30 minutes. This softens compacted roots and makes them more pliable.
Why this matters: Dry, brittle roots snap easily. Hydrated roots bend and separate without breaking.
Step 3: Remove Old Soil
After soaking, gently shake or massage away loose soil from the outer edges of the root ball. You don't need to remove all old soil, focus on the exterior where roots are most compacted.
Work over your bucket or drop cloth to contain the mess.
Step 4: Loosen the Roots
This is the critical step most people skip or rush.
For moderately root-bound plants:
- Hold the root ball in both hands
- Gently massage and squeeze around the circumference
- Use your fingers to tease apart roots on the bottom and sides
- Work slowly, take 5-10 minutes if needed
For severely root-bound plants:
If roots are so matted they won't separate with finger work:
- Use a clean, sharp knife
- Make 3-4 vertical cuts around the root ball, about 1 inch deep
- Make one cross-cut on the bottom
- Gently pry apart the cut sections
This sounds drastic but it forces roots to grow outward rather than continuing to circle. Healthy plants recover quickly.
Step 5: Trim Damaged Roots
While loosening, you'll encounter:
- Dead roots (brown, dry, hollow): Remove completely
- Rotted roots (black, mushy, smelly): Cut back to healthy tissue
- Excessively long roots: Trim to manageable length
Use clean scissors or pruning shears. Make clean cuts—don't tear.
Step 6: Prepare the New Pot
- Cover drainage holes with a screen or coffee filter (optional, prevents soil loss)
- Add 1-2 inches of fresh potting mix to the bottom
- Create a small mound in the center for the root ball to sit on
Step 7: Position and Fill
- Place the plant in the center of the new pot
- Spread loosened roots outward and downward
- Check height—the soil line should match the previous level
- Add potting mix around the sides, working it between roots
- Firm gently—don't pack tightly
- Leave 1 inch of space below the rim for watering
Step 8: Water Thoroughly
Water until it runs from drainage holes. This:
- Settles soil around roots
- Eliminates air pockets
- Rehydrates stressed roots
If soil level drops significantly add more mix and water again.
Aftercare: The First Two Weeks
Root-bound plants experience more stress during repotting than healthy ones. They need recovery time.
Immediately after repotting:
- Place in the same light conditions as before (or slightly less)
- Avoid direct sunlight for 5-7 days
- Keep soil consistently moist but not soggy
- Do not fertilize for 4-6 weeks
What to expect:
- Some wilting is normal for 2-3 days
- Older leaves may yellow and drop
- New growth may pause temporarily
- Full recovery takes 2-4 weeks
Warning signs (intervene if you see these):
- Severe wilting that doesn't recover overnight
- Mushy stems (indicates overwatering or rot)
- Rapid yellowing of many leaves
- Foul smell from soil
Common Mistakes When Repotting Root-Bound Plants
Skipping the Soak
Dry roots are brittle and break easily. The 15-30 minute soak makes a significant difference in how well roots separate and survive handling.
Being Too Gentle
Reluctance to disturb roots is understandable but leaving a tight root ball intact defeats the purpose. If roots don't spread into new soil the plant remains effectively root-bound despite the larger pot.
Being Too Aggressive
On the other hand, ripping roots apart or cutting too deeply damages the plant. Work methodically, there's a middle ground between timidity and brutality.
Jumping to a Much Larger Pot
A severely root-bound plant in a 6-inch pot doesn't need a 12-inch pot. Stick to the 1-2 inch rule. Excess soil stays wet and can cause the root rot you're trying to prevent.
Fertilizing Too Soon
Fresh potting mix contains nutrients. Stressed roots can't handle additional fertilizer salts. Wait 4-6 weeks before feeding.
Overwatering During Recovery
Keep soil moist not wet. Root-bound plants often have compromised root function they can't absorb water as efficiently until new roots establish.
When Root Binding Is Too Severe
In extreme cases the root ball is essentially solid wood, no flexibility, no separation possible. Options:
-
Bare-root repotting: Soak extensively, then wash away all soil and carefully untangle roots by hand. This is stressful but sometimes necessary.
-
Division: If the plant has multiple crowns, divide it into smaller plants. Each division gets its own pot.
-
Drastic pruning: Cut away up to one-third of the root mass. Prune top growth proportionally to compensate.
These interventions are last resorts. Most root-bound plants respond well to the standard loosening process.
Frequently Asked Questions
How long does it take a root-bound plant to recover?
Expect 2-4 weeks for visible recovery. New root growth begins within days but takes weeks to establish. New foliage growth typically resumes within a month.
Will my plant definitely survive?
Healthy plants almost always survive proper repotting, even when severely root-bound. The main risks are rot from overwatering during recovery or shock from overly aggressive root handling.
Can I prevent root binding in the future?
Check roots annually. When you see them circling at the bottom or filling the pot, plan to repot within the next growing season. Don't wait until the problem becomes severe.
Should I prune the foliage when repotting a root-bound plant?
Only if you had to remove significant root mass. In that case, prune up to one-third of foliage to balance the reduced root system. Otherwise, leave foliage alone.